

How To Add A Window To An Existing Wall
Installing a window in an existing wall. These are some process photos for how to install a window in an existing wall.
This postal service contains affiliate links which may earn me commissions should you click through them and take certain deportment. As an affiliate for Cricut, Amazon and other sites, I earn from qualifying purchases. Please DIY carefully. View my full legal disclosures here.
Please read the whole post so you don't miss any of import information!
This kids' bath was really night and small; the dark shower drape too didn't help brand the room feel inviting. My kids refused to use the room to shower. And with the light switch on the reverse site, I can't blame them. I know FOR A FACT that MY brother would have turned the light off on me, leaving me in the pitch dark. It was only a matter of time before one of the boys decided to mess with each other.
We decided to add a window and complete another renovation projects to this outdated bathroom. The window was the start step.
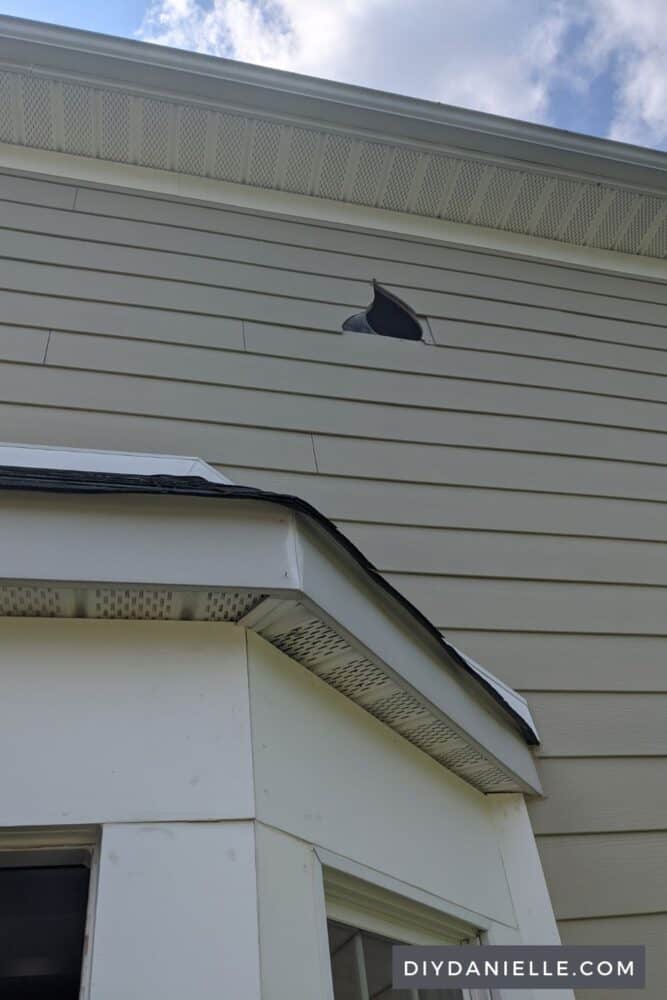
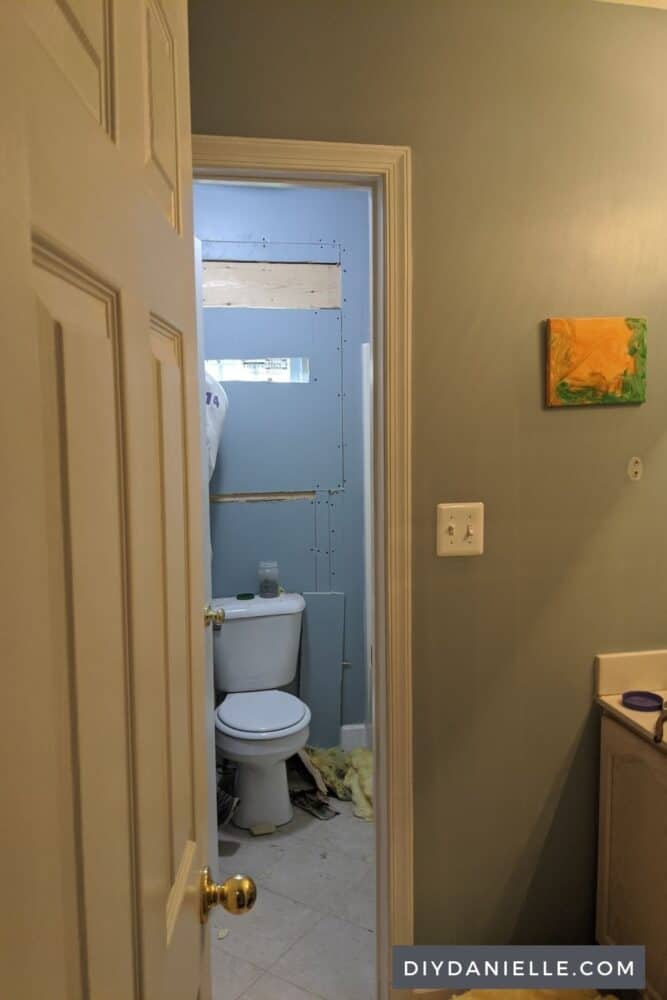
This is the window "earlier" and after from outside of the firm…
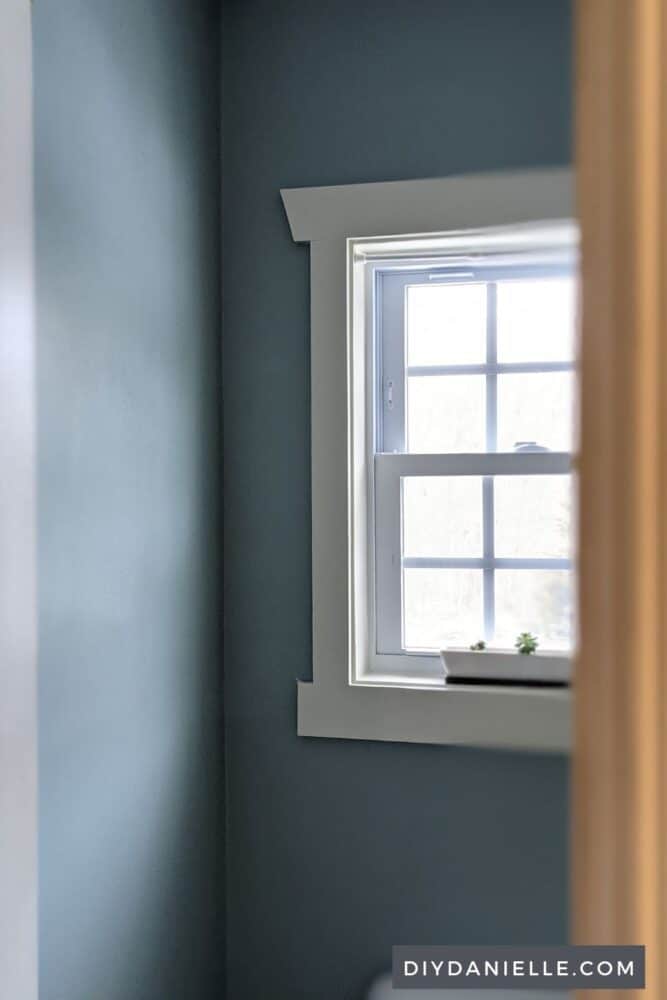
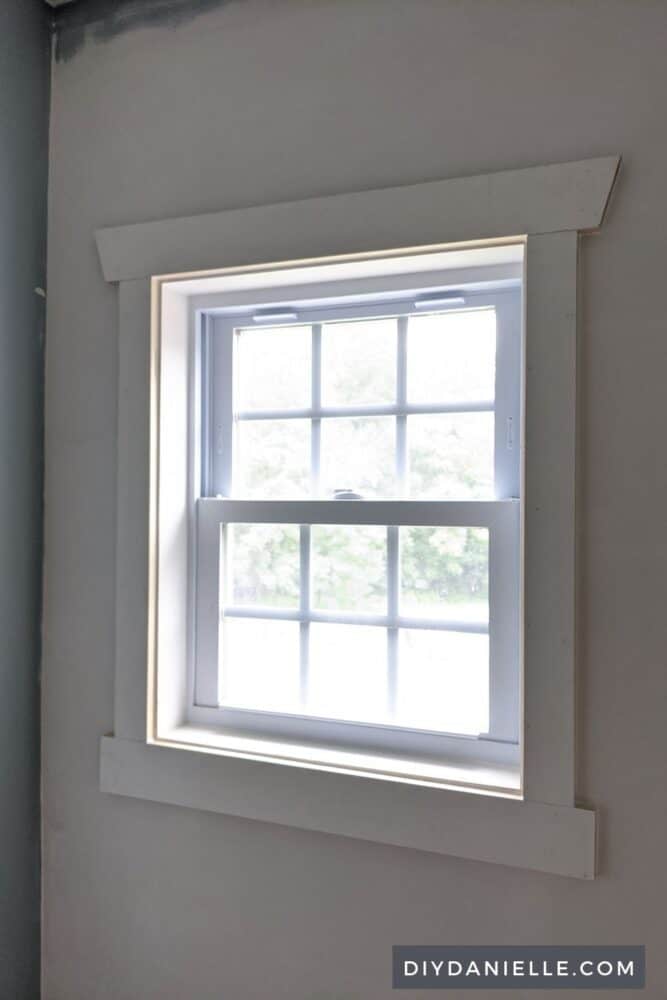
And inside the business firm earlier the trim was installed.
I Beloved how it came out… we did some further updates on the bathroom then make sure to bank check those out too!
How to Install a Window in an Existing Wall
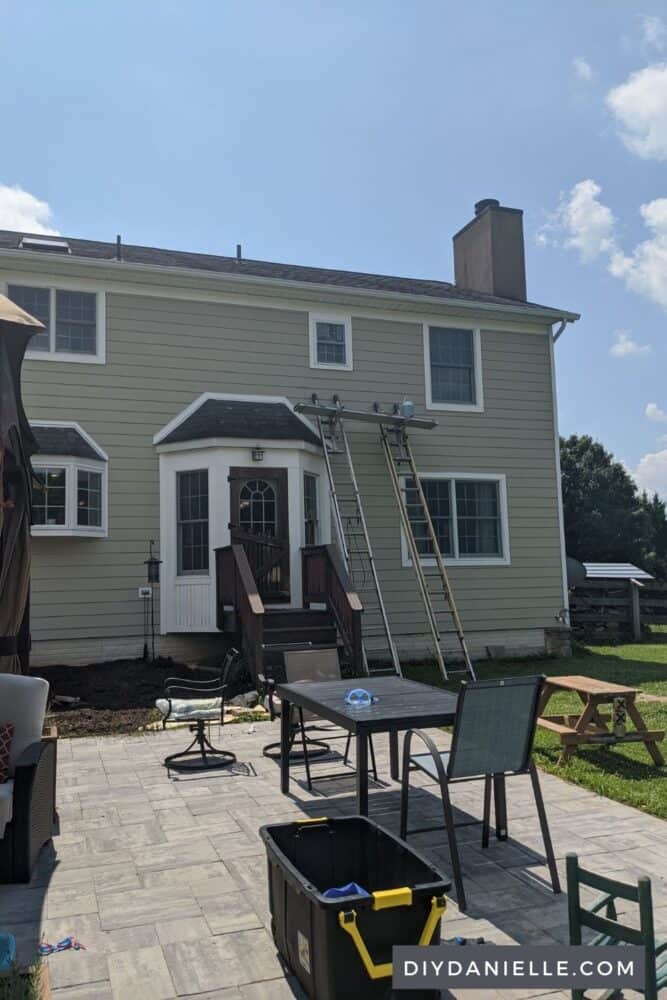
We do a lot of DIY projects, simply for this, we hired a contractor. The window was on the second story and we didn't have a ladder tall plenty to reach the area. We as well weren't very confident that we could do a good job. This seemed like a practiced one to hire out to a professional person.
That said, I want to show y'all some photos of the procedure. Maybe someday we would be comfortable DIY'ing the addition of a window or door on the first story of the house or shed. It'south really interesting to meet the progress, as well as to come across the terminal results.
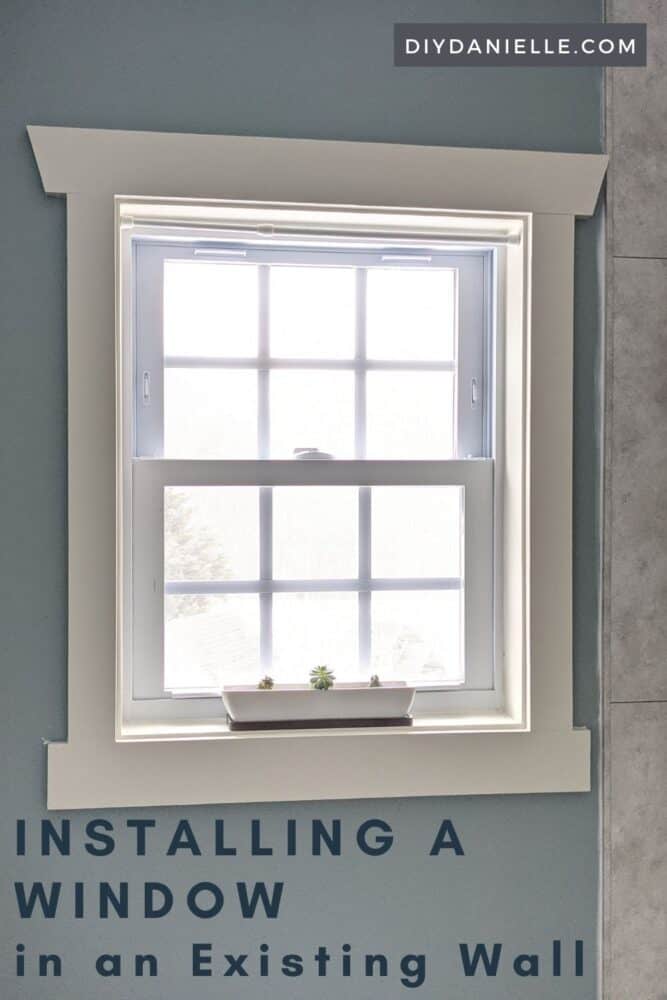
I as well asked the contractor to exercise a not traditional frame around the window. I Dear how it came out.
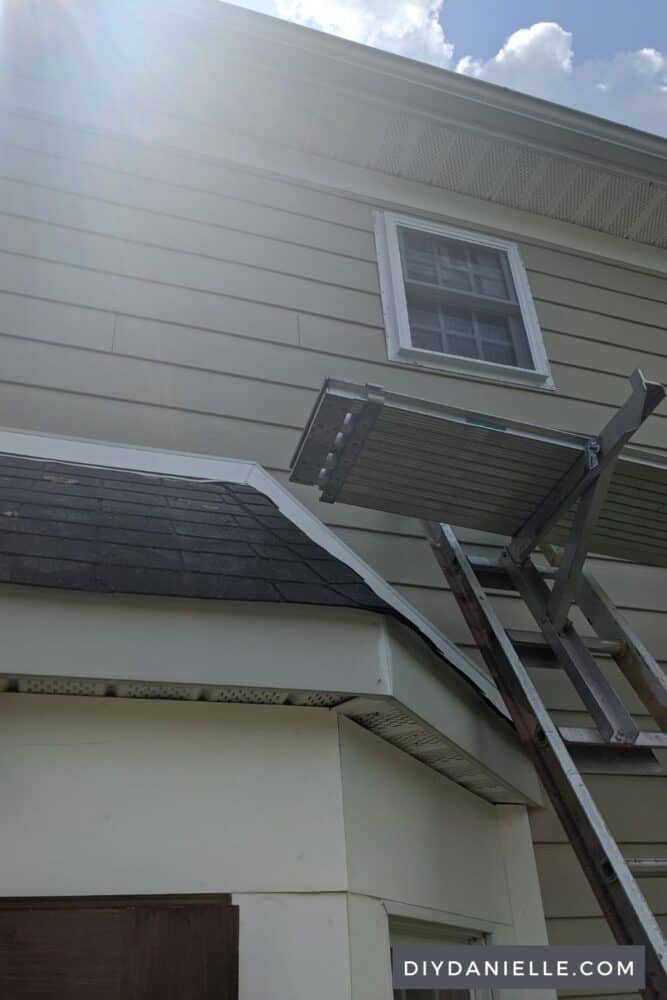
Here are the process photos of the bathroom from both the inside and the outside of the home. You can get an idea of how hard this task would be to DIY, depending on your comfort level. I feel like you should definitely plan to setup scaffolding and ain a big ladder if you desire to practise installation on a 2nd story window.
Personally? This is a task I may tackle on our sheds first. If I mess upwardly, information technology won't be a crisis. I'd exist hesitant to tackle this on our home. Simply when we were deciding if we should DIY or non, I wished for a more than bones 'how to' tutorial to determine if this was DIY'able.
This is the "tutorial" I wish I had.
Planning
If you have plumbing or electric in the wall that y'all program to demo, this will be much more expensive to do. Information technology'south a good idea to drill a small hole in your wall and insert an endoscope to see what's dorsum there. You'll likely need to work around insulation, at the very least.
When you're choosing the size of your window, remember that the frame of the window volition also have upwards space. If you can use the electric current studs for the window, your process for framing isn't quite as complicated.
Yous'll need a number of supplies, including 2x4s for framing out the window, the window (finding a window that matches your other windows is of import), and drywall. You will need to use drywall mud, primer, and pigment afterwards your finished with the installation. Yous may need more than insulation, as well.
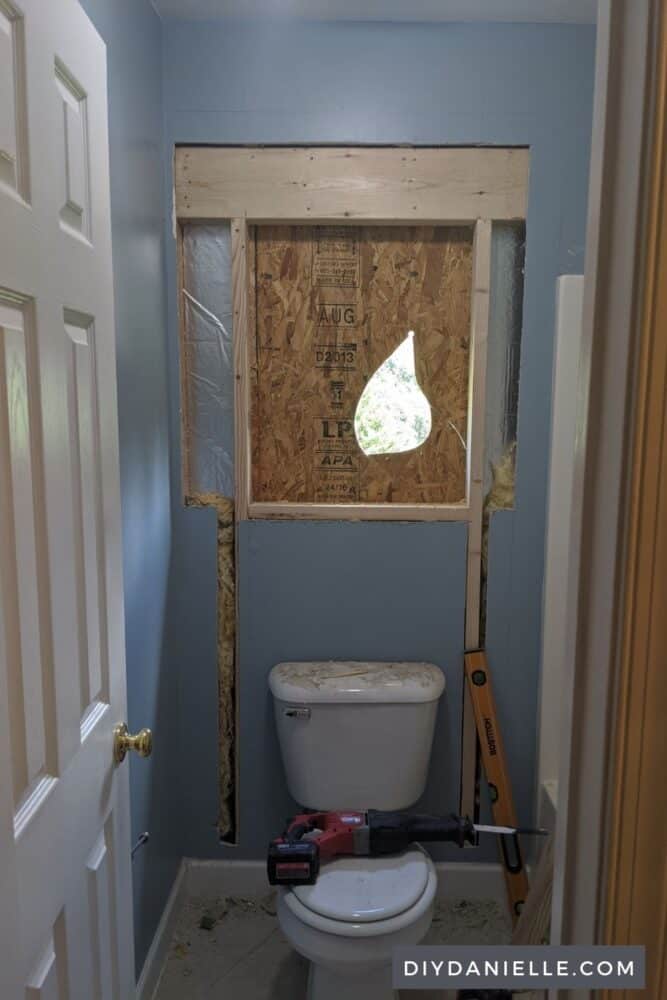
Demo
Hither are some pictures of the demo process. They started by demo'ing a scrap from the inside, then worked from both the outside and inside to complete the task. Obviously this is a situation where they needed to be VERY careful not to demo more than wall than necessary.
Scaffolding to help make the job easier and the ladders steadier (peradventure?).
Fixing the Exterior of the Dwelling Where The Window Volition Be Installed
There's a lot that goes into making sure that, when your window is placed, water (etc.) tin't leak into the business firm. I'll add a video to the end of the blog mail service of how one vlogger did his so you tin run into more of that office of the process. At that place are trim pieces to match the siding, as well equally waterproofing tape around the edges.
Framing
This is the best picture that I have of the framing. All walls take 2x4s or 2x6s as part of the frame. They provide the supportive construction of a habitation and drywall, insulation, siding, etc. are all added to keep your domicile cozy and to hide the 'guts' of the home.
Depending on the size of the window, you may need a dissimilar size frame, merely the solid frame of 2x4s gives the installer something to adhere the window to. Windows could non be attached to drywall or siding lone; they'd fall right out.
I believe he used two existing vertical 2x4s for this window, and simply added the horizontal pieces. When doing this work, it'south important to remember not to remove insulation (permanently). That helps reduce heating and cooling costs in your dwelling house.
Placing and Securing the Window
Once the space is ready, the window tin exist placed and fastened. There are panels within windows that can be popped out so you can screw the window into a wall stud.
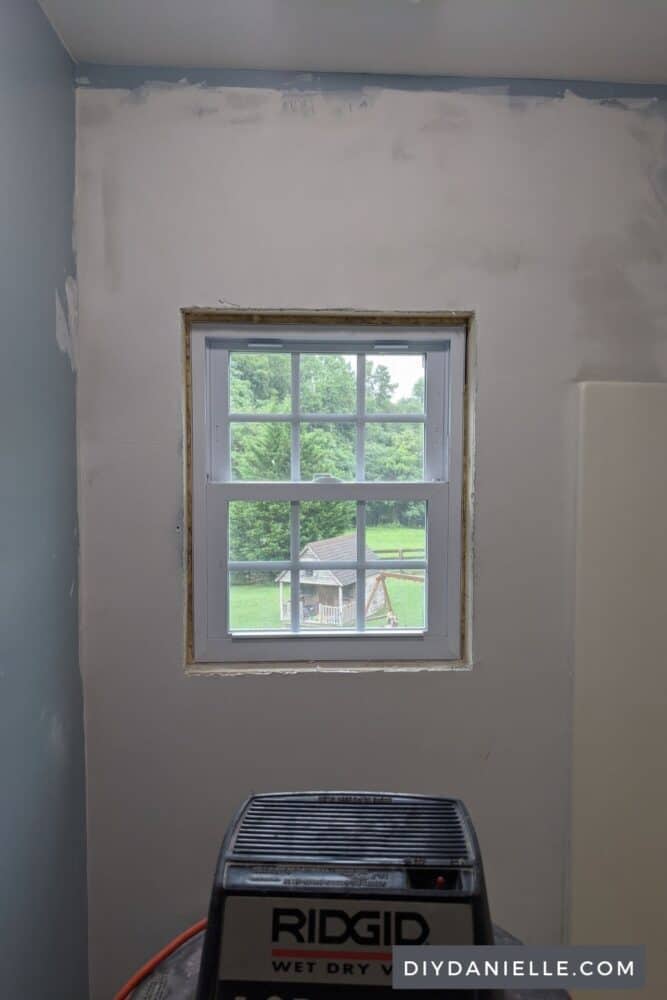
Replacing the Drywall and Using Drywall Mud
When the contractor installed the window, he tried to minimize how much demo he did on the wall. Ideally, you want to take off the smallest amount possible so that yous can frame, install the window, and repair the drywall. It'due south just less piece of work.
Due to the small size of the window, he didn't need to remove the toilet for the project and he was able to practice minimal drywall work.
I *believe* this was a picture of how they used drywall scraps to repair the walls after the window was installed.
This involves a couple of coats of the drywall mud and related dry times.
We did non have him prime or paint the area after; this was something I tackled later on when we finished the rest of the project.
Caulking the Window
To foreclose water and common cold/hot air from coming into the house, the window needs to exist caulked. This also keeps critters (like stink bugs!) from getting into the house.
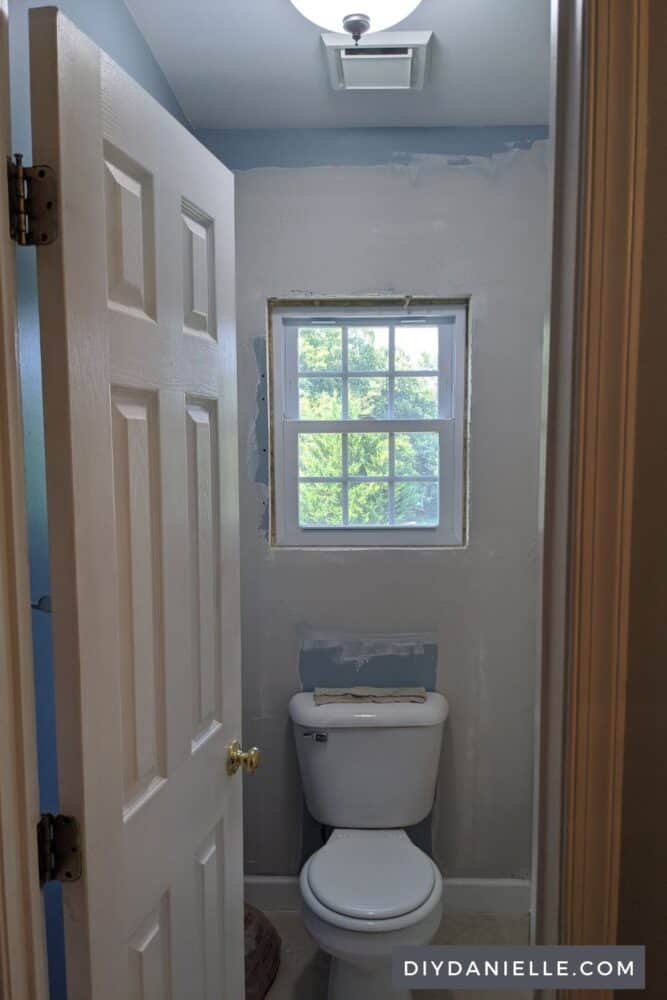
Adding the Window Sill and Framing
As the last step (aside from cleanup), they added the window sill. Rather than go the traditional road, I opted for this somewhat square/blocky look that I saw on a Pinterest pin. The one challenge to this shape is that placing a curtain rod on the outside of the frame is impossible. Instead, I bought a modest force per unit area rod for the within of the window. I think you lot could opt for interior mounted blinds too.
The window addition was one of the almost expensive parts of our bathroom renovation, but it made a HUGE deviation. The natural lighting makes the room feel inviting. We replaced the bathtub, added a drinking glass bathtub door, and used DIY white waterproof shower wall tiles to make the bath feel even more open and bright.
If you lot think this MIGHT be something you want to tackle, this is a better video showing the whole procedure past a professional.
Please share and pin this post! If you brand this project, share it in our Stuff Mama Makes Facebook Group. We take regular giveaways for gift cards to craft stores. You tin also tag me on Instagram @doityourselfdanielldue east; I love seeing everything you make!

How To Add A Window To An Existing Wall,
Source: https://diydanielle.com/installing-window-existing-wall/
Posted by: penceharriew.blogspot.com
0 Response to "How To Add A Window To An Existing Wall"
Post a Comment